

This photo was cropped from one of the photos shown below.
If you read my “Why I Shot My Own Professional Looking Portrait“, then this post will make more sense. If you haven’t, read it first!
To summarize, I am in the process of redesigning my Interior Design business website. When I inserted my recently taken (and lovely) professional photos into the “About” page, the page fell flat because the colors in the photographs clashed with the graphics.
I wrote a post called Photo Shoot for Online Profile Picture a few months ago, showing some of my recent professional profile photos. Dana, my photographer lives in Southern California and I live in Seattle. To keep the ball rolling, I wanted a photo that would work with my new website now. So out of desperation, I shot my own professional looking self portrait a few days ago.

I just die. Look at this cute little muffin. It’s our mother daughter portrait.😉
Our rental house (see Decorator Tricks For a Rental Bathroom), turned temporary photo studio, is not exactly gorgeous and doesn’t represent the kind of design work I do, but that doesn’t matter as long as I was able to capture who I am in the images.

Still Life Setup
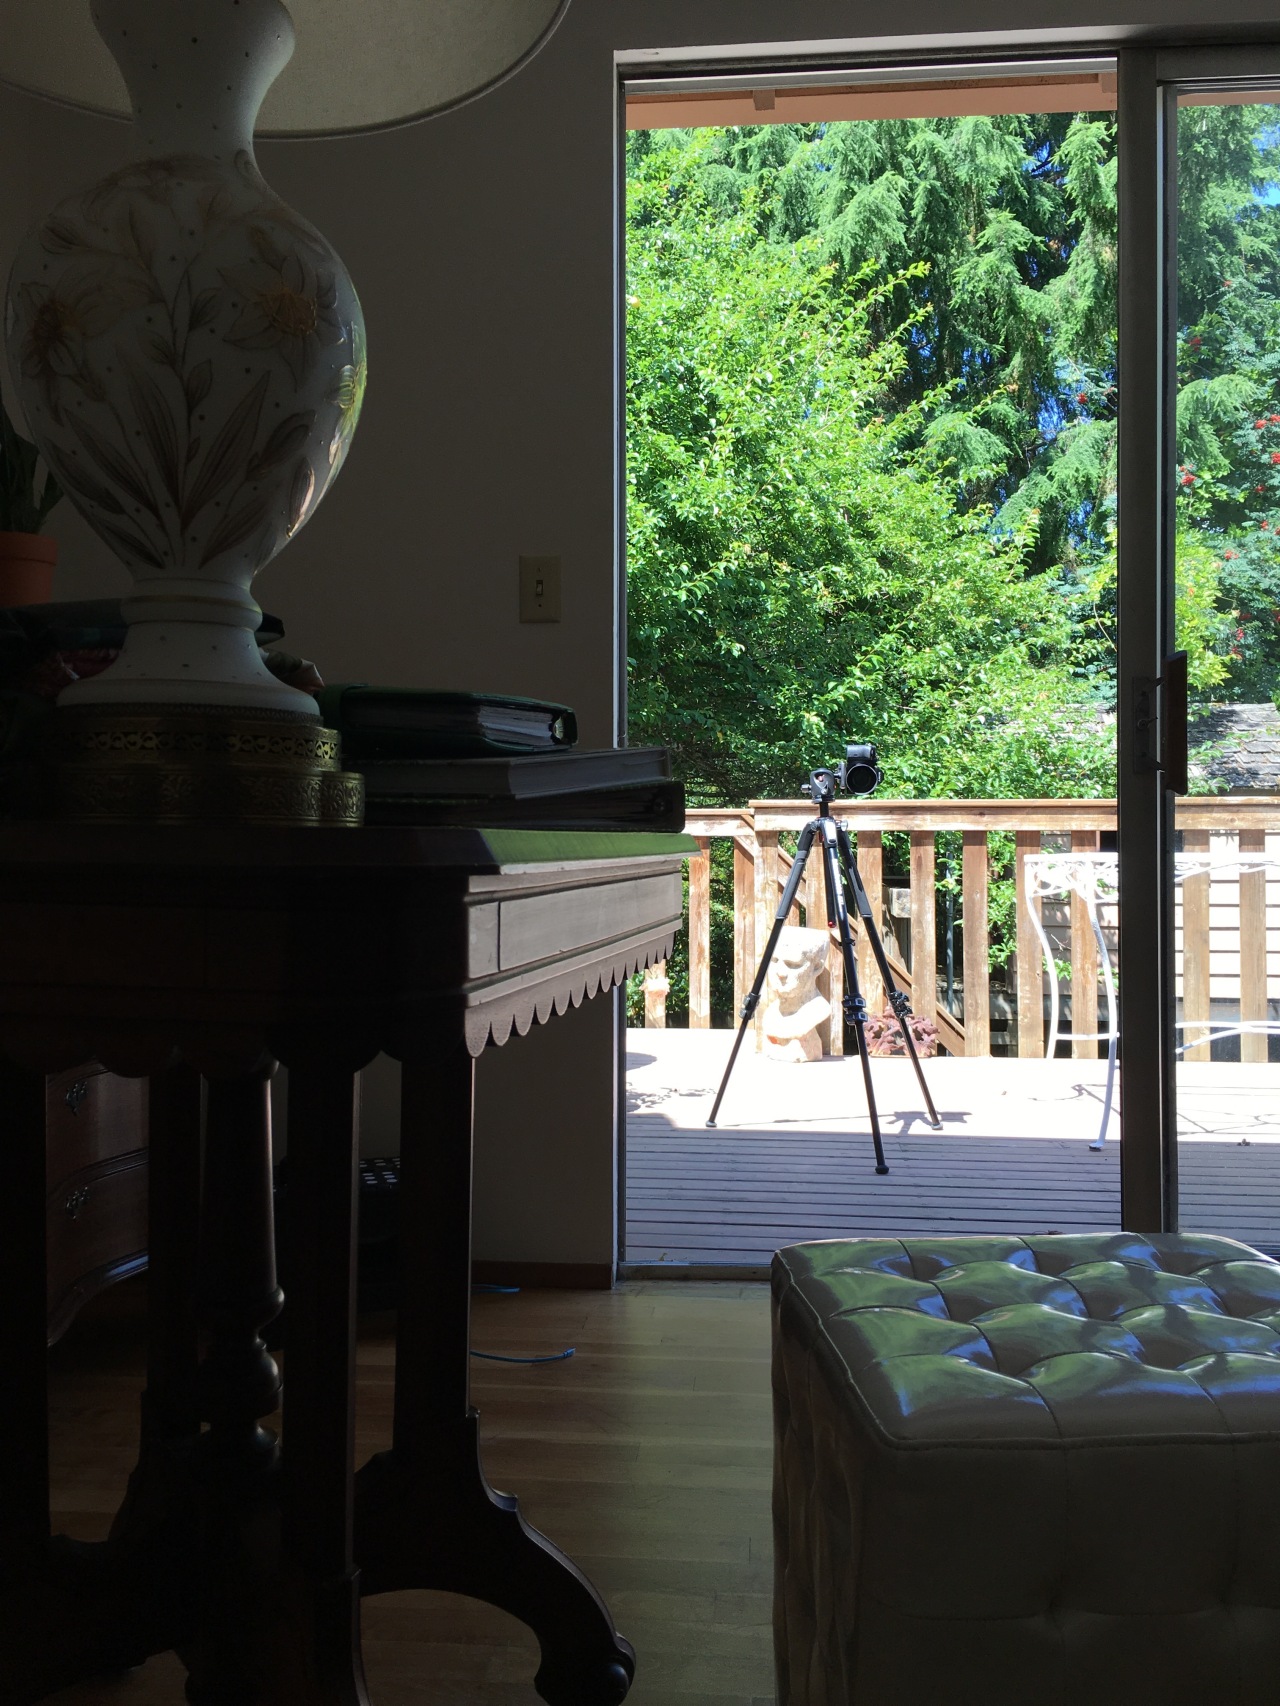
I used the dining room because it is lit with bright, indirect natural light and it has sliding glass door access to the deck. The door enabled me to set a tripod and camera up outside, so that I could sit a few feet inside the room, in the best light.
After I decided on the location, I created a composition that would introduce color and add interest to my photos. I chose the side table because it’s graceful and sweet. The lamp was already on the table and I knew it would pop against the black backdrop I would be hanging. The fabric and books were used mostly for color and they relate to my design business. The shiny white tufted vinyl cube was chosen for its size and shape, plus the white added balance to the overall composition. My outfit was chosen because it is a “me” outfit.
Once the still life was in place, I used sharp thumb tacks to hang a black sheet from the ceiling for the backdrop. I chose a black sheet because I knew it would absorb light behind me and cause the subject (me) of the photo to pop.
Next, I set the tripod and camera up on the deck. I made sure the camera was level and placed it so that it would be the correct distance from me. I also considered how much negative space (empty space) was in the shot and how I would fit myself into the composition. I would say that having a little extra background in the frame is fine because you can then crop the picture exactly as you want it.
Camera Setup
I am not much of a selfie taker, unless someone else is in the picture, but I do have several ways in which to take selfie style pictures with my camera:
A Corded Shutter Release Remote
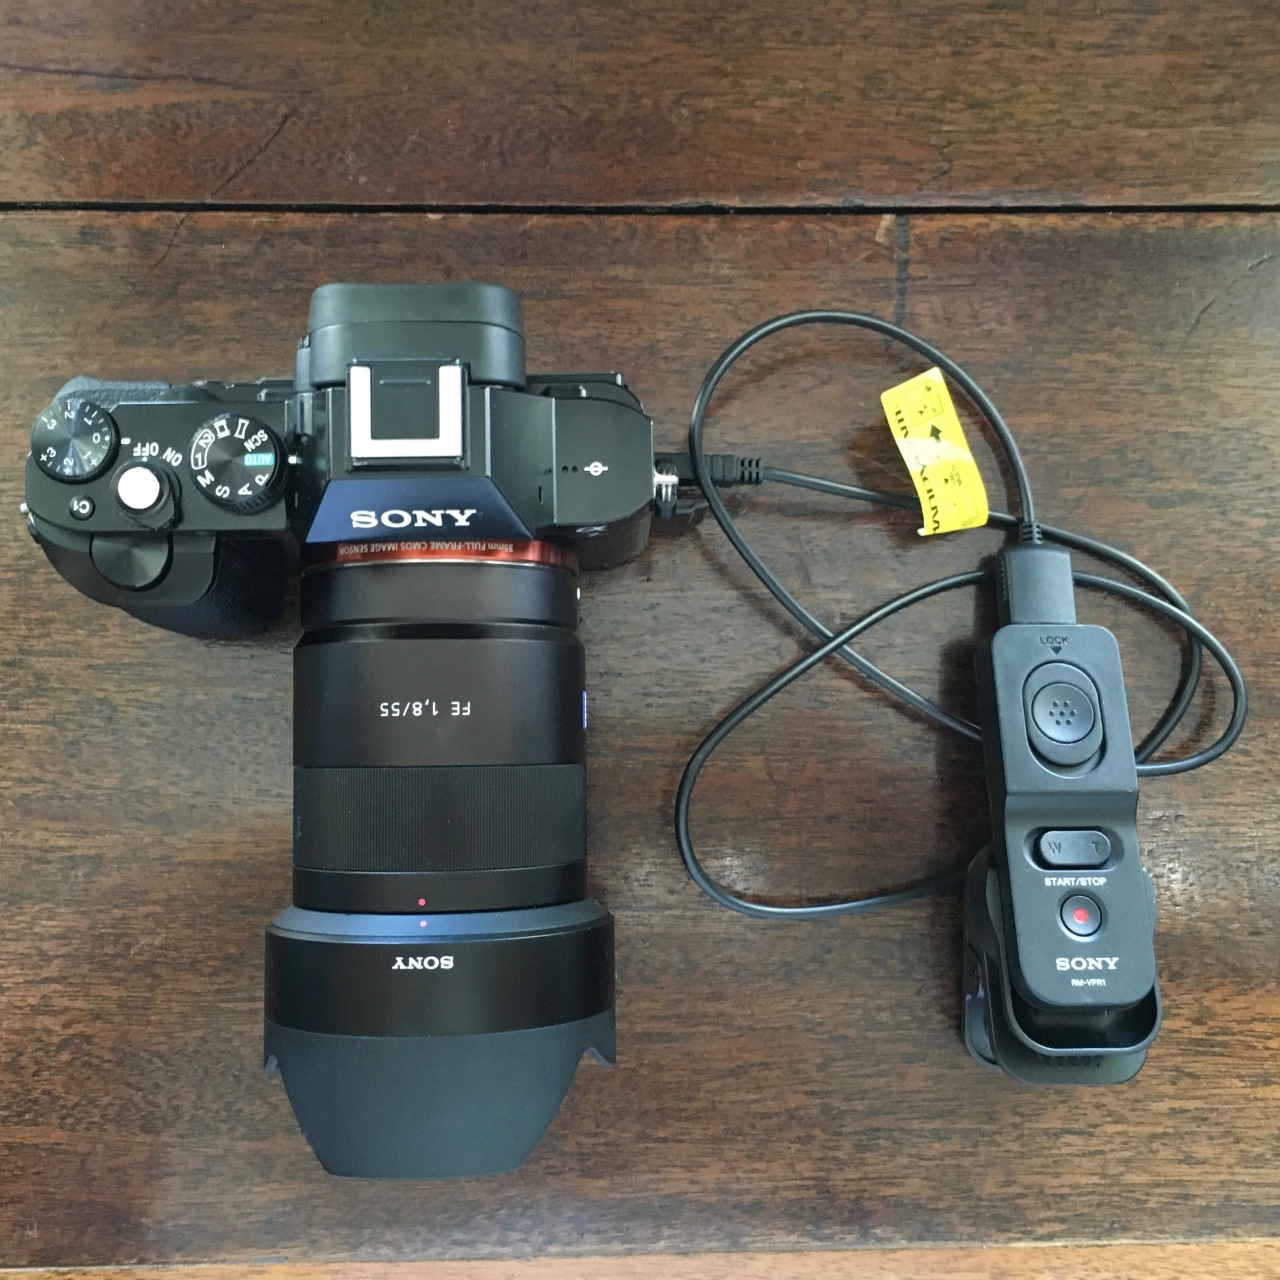
Corded Remote Shutter Release
I would need a longer cord if I wanted to use this method for taking self portraits. If I had chosen this method, I would have used this with my camera’s self-timer. The self-timer would have allowed me time to drop the cord out of view from the camera, which would require less running back and forth than having to run to the camera every time the shutter button had to be pressed.
PlayMemories a remote app used to control the camera shutter through my cell phone

Sony’s PlayMemories
Sony’s PlayMemories is amazing! Through Wifi, your cell phone shows the live image that you are about to capture and you use your cell phone to remotely release the shutter on your camera, which is positioned in front of you on a tripod. It is tempting to look at the live picture on your cell phone screen, rather than look into the lens of the camera that is actually taking the picture.
The nice thing about this method is that you can use it with your camera’s self-timer, so that you have time to hide your phone before the shutter clicks. I didn’t use this method because I didn’t have my new wifi password in my camera and didn’t want to lose focus on my task at hand (my photo shoot).
Camera’s Self-timer

This is a self-timer that rapidly shoots 5 images at a time.
I chose my camera’s self-timer, which was the most labor intensive of the 3 options. It was the most labor intensive choice because I had to get up so darned many times to reset the timer.
Once I had the composition and camera setup, the actual photography was a cinch. I shot in both automatic and manual settings, automatic was the way to go. The lighting and focus was so much cleaner. It didn’t help that the sun and clouds were in constant movement when I chose manual settings.

Sort of Mid Pose
I have a feeling, at some point in my process, the nextdoor neighbors (who actually commented with relief that I was “normal” when I met them a few months ago) looked out their window and saw me alone, dressed up, and running back and forth… outside, inside, outside, inside. Pressing the shutter button on my camera each time.

A BLOOPER. Over exposed (probably shot in manual) and not very sharp; dust and a white spot on my pants; my bra is showing; my cowlick is causing my bangs to part where they aren’t supposed to part; the edge of the black backdrop is showing; Mamba jumped into the shot when a firework went off. I also took the lamp away here to see how that would look.

This isn’t bad, but for a headshot, the books are probably distracting and the focus is sharper on my shoulders than it is on my face!
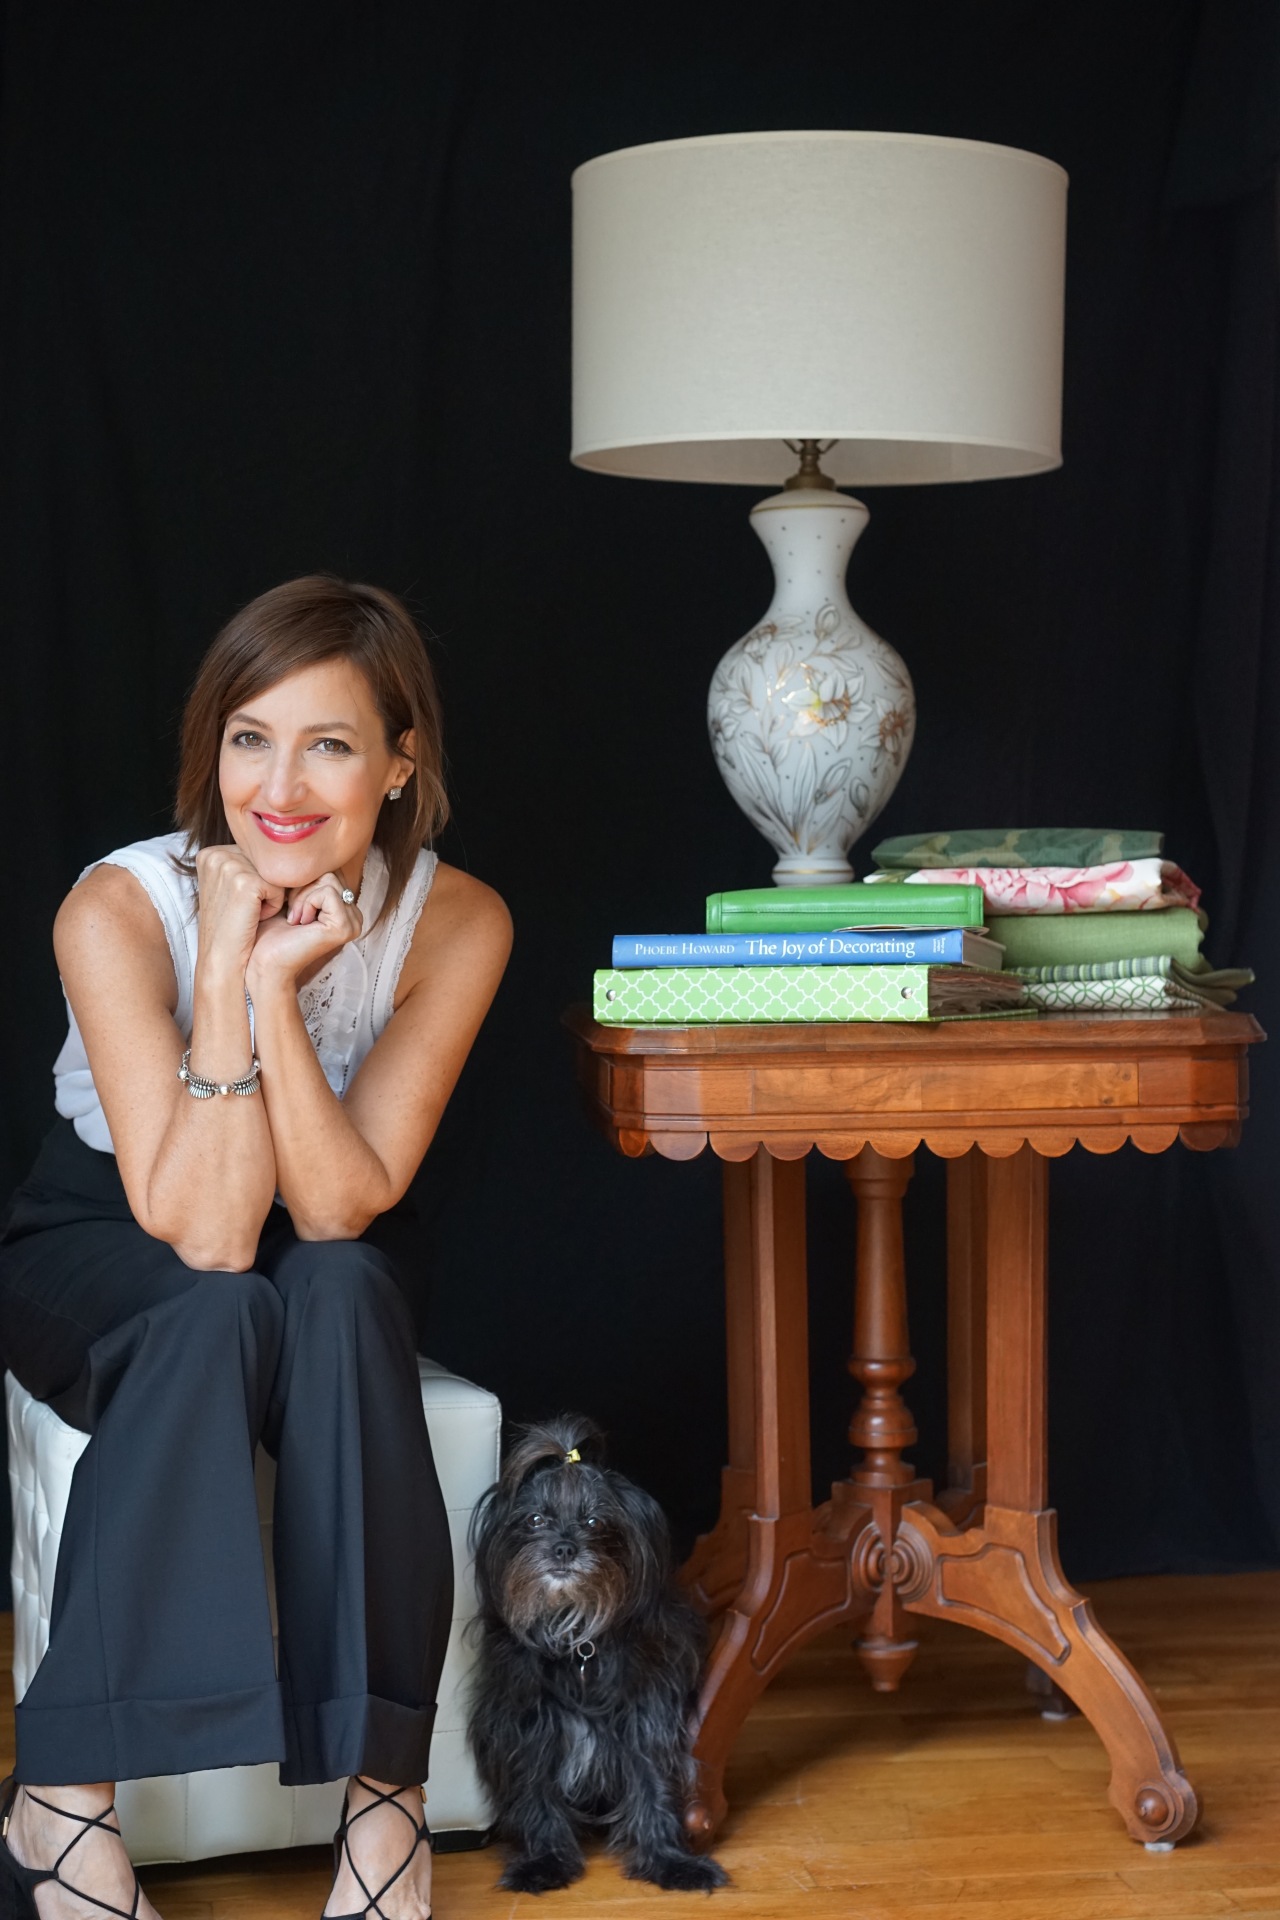
I brought the lamp back and placed Mamba between me and the table. Look at Mamba here compared to the photo above. I took a break to comb her hair. Her wild hair was cuter. I cropped this photo to use for my profile picture. It’s the top photo in this post.
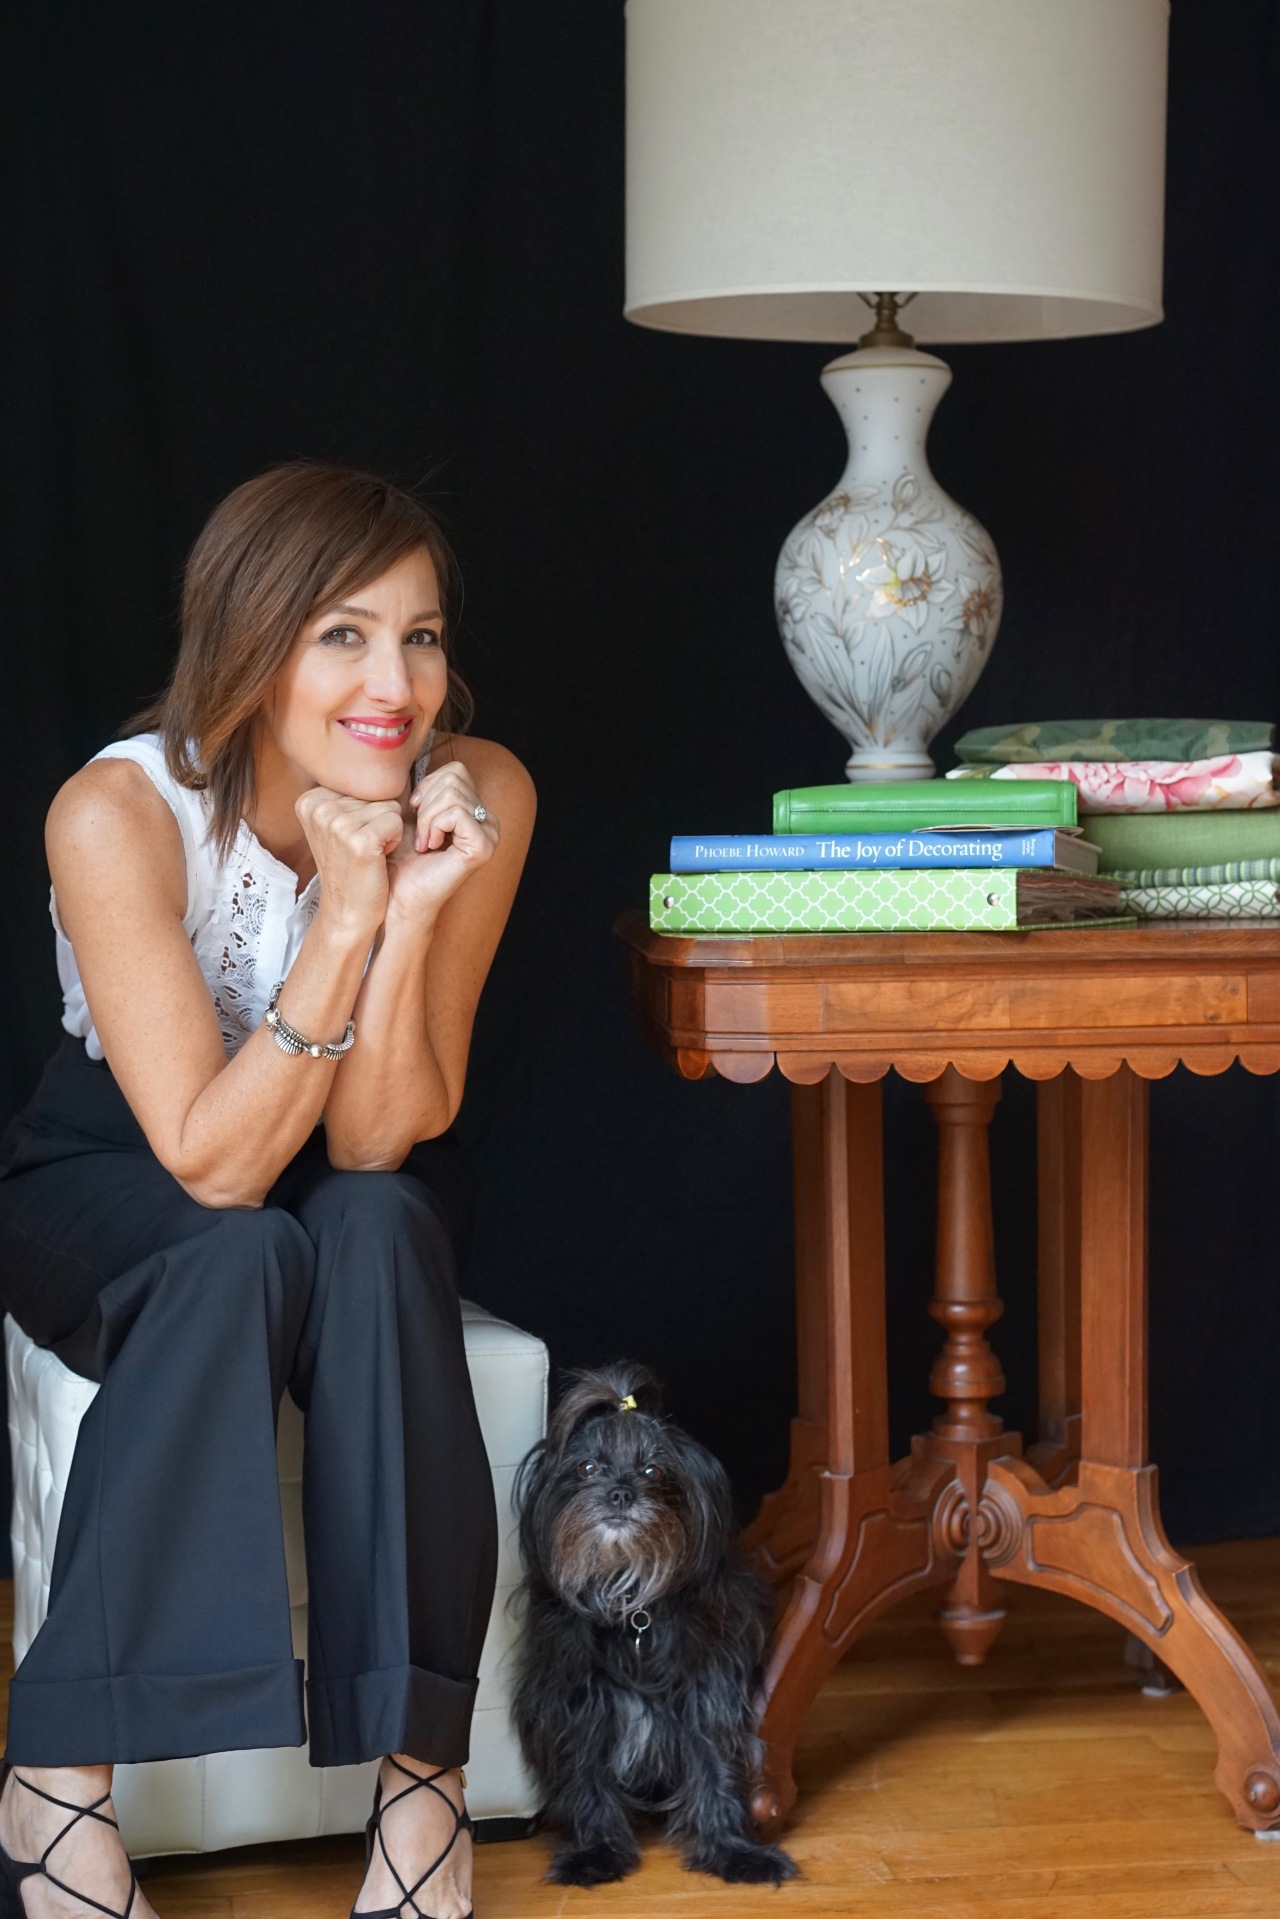
I naturally wanted to turn my head in the other direction for some reason.
I have no idea how my fingers did that under my chin! If a viewer didn’t know that I had all of my finger tips, this picture might make them wonder. This illustrates the point that small details can make or break a photograph.
When I reviewed these photos I marveled at how much I looked like I was posing for someone on the other side of the camera lens. I am not an actress and I detest role playing, so how was I able to keep a sincere smile? I think there were a few reasons:
- I am a happy person.
- No one was around, so I wasn’t self conscious.
- How could I ever not smile around Mamba?
- My camera has been good to me and I liken it to a friend.
10 Tips For Shooting Your Own Professional Looking Self Portrait:
- Natural Light – Use only natural light. Find a spot with beautiful bright indirect light, such as near a front door, back door, or inside of a garage with the overhead door open. Make sure to face the light (seems obvious, but most people don’t think about it)! This lighting is super forgiving, it softens lines and imperfections, which means no need for photoshop!
- Backdrop – Create a backdrop or search out a good non-interruptive background. If you choose to pose in front of greenery, be careful that the green from your surroundings does not cast green onto your face.
- Timer Setting – Use a camera with a timer setting.
- Tripod – Besides needing a tripod for a good selfie, a tripod will hold your camera perfectly still, so your photos will be nice and sharp. There are tripods made for cellphones, too. Here is a link to one called a mini adjustable tripod. You can also find flexible tripods that can be wrapped around things like tree branches.
- Beauty – Moisturize your skin! If you wear make-up, take a little extra time; maybe add extra eyeliner to your top lids and if you usually are light handed; add a little more blush; blend, blend, blend; lightly powder shiny or red spots on your face, especially the chin, next to the nose, and forehead; wear lipstick, even if it is only a soft natural color. I chose a brighter color than I would normally wear because I wanted the pictures to have more color. If your lips are really thin, avoid dark lip colors, a natural lip colored gloss will be prettier! If you wear brow color, the wrong shade, wrong shape and heavy handedness will make you look severe.
- Mirror – Have a mirror nearby, so you can check your hair and make-up . I have a cowlick in my bangs that is forever parting in the wrong spot. Little flyaway hairs can be a big distraction, too. I wish I had bothered to look at my make-up, I had a few mascara imperfections that I could have fixed! Also, check your clothes for spots, wrinkles, lint, and untucking.
- Head Position – Try not to pull your chin up, but don’t tuck your chin down too far either, both are unflattering.
- Posture – Exhale! If you are too stiff, you look unapproachable. My friend Janea, from the blog theStyletti.com, says that portraits look best when the subject is “bendy”, I think her theory is true. Even though you may be “bendy” have good posture by using your core to hold you, some of my least attractive photos were the ones where I was lazy.
- Focus – Look directly into the camera lens. Think of the lens as the viewer’s eye. What do you want the viewer to see back when they look at you? I wanted to be friendly and trustworthy. You may want to look intelligent, confident, sassy, sexy, serious, shy, stylish…
- Be You (most important)!


Really great suggestions, Melissa. Since I have to do selfies now and then (and pretty much hate it!) I will definitely employ some of these tips. Thanks for sharing! XO, Janea
Hope some of your readers who are into style will check out my blog – http://theSTYLetti.com 😉
LikeLike
I love the visual of your neighbors watching and wondering. 🙂 Gorgeous photos! And Mamba is a natural!
LikeLike
Glad you like the photos and I’m assuming you see the humor in being seen by my neighbors!
In case my neighbors, Elysia and Brian, are reading this, you were on your cruise!
LikeLike
Bravo!! Bravo!! Now I know to look for black sheets!! And your baby looked at the camera and not you!!
LikeLike
She looked at the camera because I pointed to the self timer light, which also makes a little noise.
LikeLike
I suppose you could hang a treat near the camera lens, too! You just have to have an obedient dog. 😊
LikeLike